

How to Enable Google reCAPTCHA v3 in WordPress Using AdminTrace Activity Logger
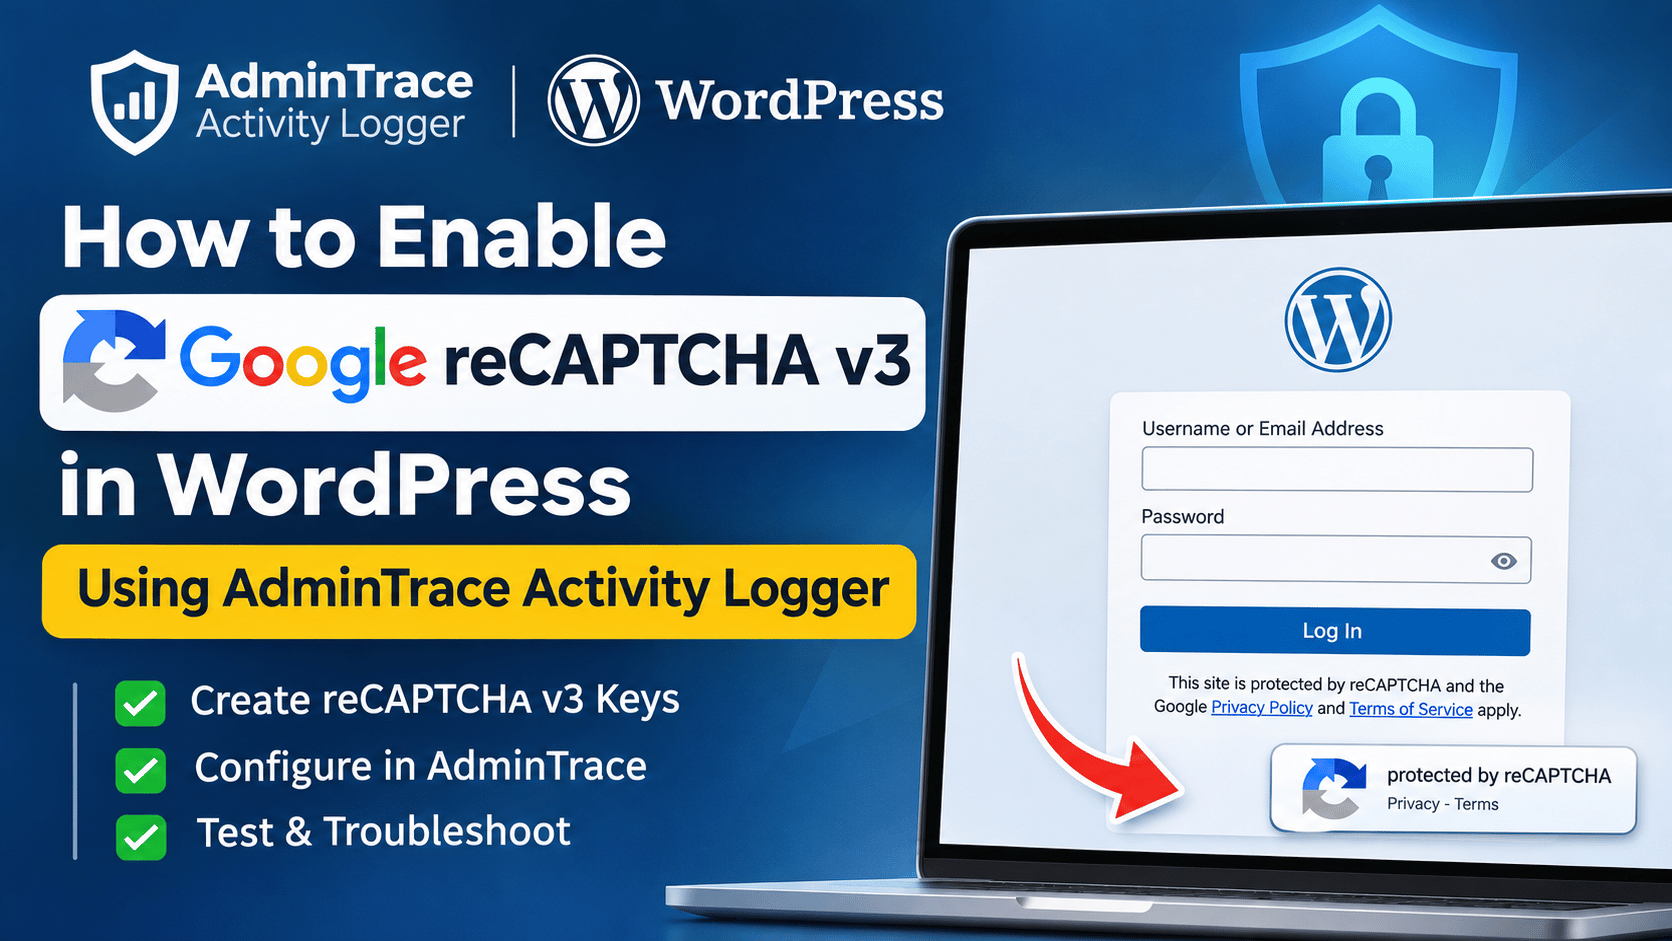
Brute-force attacks are one of the most common security threats to WordPress websites. Automated bots continuously target WordPress login pages, attempting to guess usernames and passwords to gain unauthorized access.
AdminTrace Activity Logger helps protect your WordPress website by recording failed login attempts and sending email alerts when suspicious activity exceeds a configured threshold.
With Google reCAPTCHA v3 integration, AdminTrace adds another layer of security by identifying and blocking suspicious automated attempts before they can proceed. It also records blocked bot activity in your WordPress security journal.
In this guide, you’ll learn how to create Google reCAPTCHA v3 keys, configure AdminTrace settings, enable WordPress bot protection, test the integration, and troubleshoot common issues.
What Is Google reCAPTCHA v3 and How Does It Protect WordPress?
Google reCAPTCHA v3 is an invisible security solution that helps distinguish legitimate users from automated bots without requiring users to solve puzzles or click an “I’m not a robot” checkbox.
Instead of displaying a traditional CAPTCHA challenge, reCAPTCHA v3 analyzes user interactions and assigns each request a risk score between 0.0 and 1.0.
- 1.0: Likely a legitimate human interaction.
- 0.5: An intermediate risk score.
- 0.0: Likely automated or suspicious activity.
AdminTrace compares this score with your configured minimum threshold to determine whether a login-related request should be allowed or blocked.
Key Benefits of reCAPTCHA v3 in AdminTrace
- WordPress login protection: Protects the standard WordPress login form.
- Password reset protection: Helps prevent automated password reset attempts.
- User registration protection: Blocks suspicious automated registration requests.
- Invisible CAPTCHA: No checkbox or additional interaction is required from legitimate users.
- Automatic bot blocking: Requests with scores below your configured minimum threshold are blocked.
- Security activity logging: Blocked attempts are recorded in the AdminTrace activity journal.
- Failed login notifications: Email alerts remind administrators when reCAPTCHA protection has not been enabled.
For example, when a suspicious login attempt is blocked, AdminTrace can record an event like:
Bot attack blocked by reCAPTCHA for username “admin”.
Note: Google reCAPTCHA protection is disabled by default. No reCAPTCHA requests are sent to Google until you configure your keys and enable the feature.
WordPress Features Not Affected by reCAPTCHA
To maintain compatibility with external integrations, AdminTrace does not apply reCAPTCHA challenges to:
- XML-RPC requests
- WordPress REST API requests
- Application passwords
- Already-authenticated WordPress admin screens
These exclusions allow supported integrations, mobile applications, and automation tools to continue working without additional CAPTCHA verification.
Requirements Before Enabling Google reCAPTCHA v3
Before configuring reCAPTCHA, make sure you have:
- AdminTrace Activity Logger installed and activated on your WordPress website.
- A valid Google account.
- Your website domain ready to register with Google.
- Administrator access to the WordPress dashboard.
Important: You must use Google reCAPTCHA v3 (Score-based) keys. Traditional reCAPTCHA v2 checkbox keys are not compatible with this integration.
Step 1: Create Google reCAPTCHA v3 Site Keys
First, register your WordPress website with Google to generate the required reCAPTCHA keys.
Open the Google reCAPTCHA Admin Console
Visit the official Google reCAPTCHA Admin Console .
- Sign in using your Google account.
- Click the + (Create) button to register a new website.
- Enter the required website information.
Configure Your Website Details
| Field | Configuration |
|---|---|
| Label | My WordPress Site or AdminTrace Login |
| reCAPTCHA Type | Score-based (v3) |
| Domains | Your website domains |
| Terms | Accept Google’s Terms of Service |
Add Your Website Domains
Enter the domains where your WordPress login page is accessible.
example.comwww.example.comstaging.example.com
For local development environments, you can also register domains such as:
wordpress.test(LocalWP, Herd, or Valet)localhost(Local Docker or XAMPP environments, where supported)
Click Submit after completing the registration.
Copy Your Google reCAPTCHA Keys
After successful registration, Google will generate two keys:
| Key | Purpose |
|---|---|
| Site Key | Used in the browser to load the reCAPTCHA script on the WordPress login page. |
| Secret Key | Stored securely on your server and used to verify reCAPTCHA tokens with Google. |
Copy both keys and keep them safe. Never expose your Secret Key in frontend JavaScript, public GitHub repositories, or publicly accessible files.
Important: Your reCAPTCHA keys are associated with a Google Cloud project. If the project is deleted or becomes unavailable, verification may stop working. Create a new reCAPTCHA registration if necessary.
Step 2: Open AdminTrace Activity Logger Settings
After generating your Google reCAPTCHA keys, configure them in your WordPress dashboard.
- Log in to your WordPress admin dashboard.
- Navigate to AdminTrace Activity Logger.
- Open the Settings section.
- Locate the Google reCAPTCHA settings panel.
You can also access the settings directly using this WordPress admin URL:
wp-admin/admin.php?page=admintrace-activity-logger-settings
You should see the following configuration options:
- Enable Google reCAPTCHA v3
- Site Key
- Secret Key
- Minimum Score (default:
0.5)
Step 3: Configure Google reCAPTCHA v3 in AdminTrace
Now, add the keys generated from the Google reCAPTCHA console.
- Enable the Google reCAPTCHA v3 checkbox.
- Paste your Google Site Key into the Site Key field.
- Paste your Google Secret Key into the Secret Key field.
- Configure the minimum score. You can initially use the default value of
0.5. - Click Save Settings.
Important: Understanding the Secret Key Field
After saving your settings, you may notice that the Secret Key field appears empty. This is intentional. AdminTrace retains the previously saved Secret Key.
- Leave the field empty if you want to continue using the existing key.
- Enter a new Secret Key only when you want to replace the saved one.
You do not need to enter the Secret Key again every time you update other reCAPTCHA settings.
Step 4: Configure the Minimum reCAPTCHA Score
Google reCAPTCHA v3 assigns a score between 0.0 and 1.0 to each evaluated request.
AdminTrace compares this score with your configured minimum threshold to determine whether a request should be blocked.
Understanding reCAPTCHA Score Values
| Score | Typical Interpretation |
|---|---|
| Near 1.0 | Likely legitimate user |
| Around 0.5 | Intermediate risk |
| Near 0.0 | Likely automated or suspicious activity |
Recommended Minimum Score Settings
For most WordPress websites, starting with a minimum score of 0.5 is a reasonable approach.
- 0.3–0.4: More lenient. Useful if legitimate users are being blocked.
- 0.5: Recommended starting point for general WordPress websites.
- 0.6–0.7: More restrictive. May block additional suspicious requests.
- 0.9: Very restrictive and may affect legitimate visitors.
Recommendation: Start with 0.5, monitor your security journal, and adjust the score gradually. Avoid setting an unnecessarily high threshold because legitimate users may also receive lower scores.
Step 5: Test Google reCAPTCHA v3 on Your WordPress Login Page
After enabling reCAPTCHA, verify that the integration is working correctly.
Open the WordPress Login Page
- Log out of your WordPress dashboard.
- Open a private or incognito browser window.
- Visit your WordPress login page:
https://yoursite.com/wp-login.php.
What Should You See?
If Google reCAPTCHA v3 is configured correctly, you should notice:
- The standard WordPress username and password fields.
- A privacy notice indicating that the login page is protected by reCAPTCHA.
- Google reCAPTCHA Privacy Policy and Terms of Service links.
- The Google reCAPTCHA badge, usually displayed in the bottom-right corner.
There is no “I’m not a robot” checkbox. This is completely normal because reCAPTCHA v3 works invisibly in the background.
Test a Normal Login
Try signing in using a valid WordPress account. If your Google keys and registered domain are configured correctly, the login should work normally.
You can also open the AdminTrace activity journal and filter by Security to review suspicious attempts blocked by reCAPTCHA.
How AdminTrace Logs Blocked Bot Activity
One of the advantages of enabling Google reCAPTCHA v3 in AdminTrace is that blocked bot attempts are recorded in your WordPress activity journal.
Whenever reCAPTCHA identifies and blocks a suspicious request, AdminTrace can record events such as:
- Bot login attempt blocked for a username.
- Bot password reset attempt blocked.
- Bot user registration attempt blocked.
These events use the following security event type:
- Event: Bot blocked by reCAPTCHA
- Event ID:
security.recaptcha_blocked
Blocked events also count toward the failed-login alert threshold when that feature is enabled.
Failed Login Email Notifications
AdminTrace also provides email notifications for suspicious login activity. If Google reCAPTCHA v3 is not enabled, failed-login alert emails include a reminder with a link to the plugin settings page.
This helps administrators identify websites that are still running without this additional bot protection.
What WordPress Requests Are Not Protected by reCAPTCHA?
Although Google reCAPTCHA v3 protects standard WordPress login-related forms, it is not applied to every WordPress request.
- XML-RPC: External applications and services using XML-RPC are not challenged.
- REST API: API integrations continue to work without reCAPTCHA verification.
- Application Passwords: WordPress application password authentication remains unaffected.
- Authenticated Admin Screens: Already-authenticated administrators can continue using the dashboard normally.
These exclusions help maintain compatibility with external services, mobile applications, and automated workflows.
Troubleshooting Google reCAPTCHA v3 in WordPress
If Google reCAPTCHA v3 is not working as expected, check the following common issues and their solutions.
1. Error: reCAPTCHA Verification Failed. Please Try Again.
This error can occur for several reasons.
Wrong reCAPTCHA Key Type
Make sure you created Score-based (v3) keys instead of Challenge (v2) keys. Generate new v3 keys if necessary.
Domain Not Registered
Verify that the exact domain used to access your WordPress login page is registered in the Google reCAPTCHA console.
Deleted Google Cloud Project
If the Google Cloud project associated with your keys has been deleted, Google verification may fail. Create a new reCAPTCHA registration and update the keys in AdminTrace.
Mismatched Site Key and Secret Key
Both keys must belong to the same Google reCAPTCHA registration. Mixing keys from different registrations can cause verification failures.
Minimum Score Too High
If legitimate users are being blocked, temporarily reduce the minimum score to 0.3 or 0.4 and test again.
AdminTrace is designed so that invalid keys or temporary Google verification failures do not permanently lock you out of WordPress login. However, you should correct the configuration to ensure that bot protection works as expected.
2. I Cannot See the reCAPTCHA Checkbox
This is expected behavior. Google reCAPTCHA v3 does not display a traditional CAPTCHA checkbox. Instead, it evaluates user interactions in the background.
Look for the Google reCAPTCHA badge and the privacy notice on your WordPress login page.
3. Login Works, but Blocked Bots Are Not Appearing in the Activity Journal
If suspicious attempts are not being recorded, verify the following settings:
- Make sure Enable Google reCAPTCHA v3 is checked.
- Confirm that both Google keys have been saved correctly.
- Verify that Record Failed Logins is enabled under Retention and Privacy settings.
- Check the Security filter in the AdminTrace activity journal.
You can test blocked events using an appropriate test request with an invalid or missing reCAPTCHA token. Normal users with acceptable scores will not generate blocked-bot events.
4. Google reCAPTCHA Is Not Working on Localhost or Development Domains
If you are using a local WordPress development environment, make sure your development hostname is registered in the Google reCAPTCHA console.
Examples include:
wordpress.testlocalhost
Also, ensure that your server can connect to Google’s verification endpoint:
Without server-side connectivity, AdminTrace cannot verify reCAPTCHA tokens with Google.
Google reCAPTCHA v3 Privacy and Compliance Considerations
Enabling Google reCAPTCHA v3 introduces communication between your WordPress website and Google’s services.
When the feature is enabled:
- The WordPress login-related forms load Google’s reCAPTCHA JavaScript.
- A reCAPTCHA token is generated during the verification process.
- The token is sent to Google for server-side verification.
- The login page displays Google’s required Privacy Policy and Terms of Service attribution.
If your website has a privacy policy, consider updating it to disclose the use of Google’s reCAPTCHA service and any relevant third-party data processing.
Note: Google reCAPTCHA is optional in AdminTrace and remains disabled until an administrator explicitly configures and enables it.
Google reCAPTCHA v3 WordPress Setup Checklist
Use this checklist to make sure you have completed the configuration successfully.
- Created Google reCAPTCHA v3 keys.
- Registered all required website domains.
- Installed and activated AdminTrace Activity Logger.
- Opened AdminTrace → Settings → Google reCAPTCHA.
- Added the Google Site Key.
- Added the Google Secret Key.
- Set the minimum score to
0.5. - Enabled Google reCAPTCHA v3.
- Saved the plugin settings.
- Tested the WordPress login page in a private browser window.
- Confirmed the reCAPTCHA badge and privacy notice are visible.
- Checked the AdminTrace security journal for blocked attempts.
Frequently Asked Questions About Google reCAPTCHA v3 in WordPress
Does Google reCAPTCHA v3 require users to click an “I’m not a robot” checkbox?
No. Google reCAPTCHA v3 works invisibly in the background. It evaluates user interactions and assigns a risk score without requiring users to solve CAPTCHA challenges.
Is Google reCAPTCHA v2 compatible with AdminTrace?
No. AdminTrace’s reCAPTCHA integration requires Google reCAPTCHA v3 (Score-based) keys. Traditional v2 checkbox keys are not supported.
Does reCAPTCHA v3 protect the WordPress registration and password reset forms?
Yes. When enabled, AdminTrace applies reCAPTCHA protection to the standard WordPress login, lost password, and user registration forms.
Where can I see blocked bot attempts in WordPress?
You can review blocked bot attempts in the AdminTrace Activity Logger security journal. These events use the security.recaptcha_blocked event ID.
What is the recommended minimum score for WordPress?
A minimum score of 0.5 is a good starting point for most websites. You can lower it if legitimate visitors are being blocked or increase it if additional bot filtering is required.
Will enabling reCAPTCHA break WordPress REST API or XML-RPC integrations?
No. AdminTrace does not apply reCAPTCHA challenges to XML-RPC, REST API requests, or application password authentication.
Conclusion: Protect Your WordPress Login Page with AdminTrace
Brute-force attacks and automated login attempts can put your WordPress website at risk. Adding Google reCAPTCHA v3 provides an additional layer of security by identifying suspicious requests and blocking many automated attempts before they proceed.
With AdminTrace Activity Logger, you can protect your WordPress login, password reset, and registration forms while keeping track of blocked activity through the security journal.
The integration is easy to configure, does not require a CAPTCHA checkbox, and allows you to adjust the minimum score based on your website’s security requirements.
Enable Google reCAPTCHA v3 in AdminTrace today and add another layer of protection to your WordPress website.
Need Help or Have a Feature Request?
Visit the AdminTrace Activity Logger support forum on WordPress.org to get support or share your feedback.
Plugin: AdminTrace Activity Logger
Developed by: Sigma Rocks

Founder and Principal Software Architect at Sigma Rocks, specializing in Laravel, Next.js, WordPress, Flutter, cloud infrastructure and scalable web applications.